Add User-Defined Objects to the Library
There are various ways to add objects to the User-Defined library. You can add objects manually, save objects from third-party programs, or save objects directly from the Video Detailer timeline.
To add user-defined objects manually:
Access the User-Defined objects folder. This can be accomplished in three ways.
Go directly to the user-Defined folder
Default location: C:\Users\<user>\AppData\Roaming\Tango Delta\Library\User-Defined\Click the [Show in Explorer] button on the [Main Menu] > [Settings] > [Folder] screen.
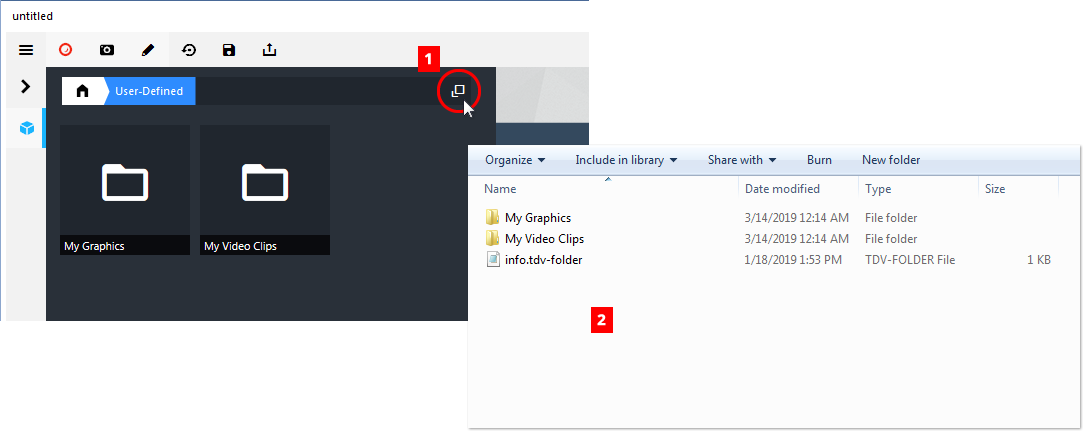
Click the User-Defined objects access button on the User-Defined menu ([Libraries] > [User-Defined] > [ ]).
See Figure 1 above.
Open a second Explorer window and locate the object you want to add to the User-Defined library. This must be a valid video, image or audio file.
Drag-and-drop or copy paste from the original file location to the User-Defined folder. The file will be available in Video Detailer immediately.
To add user-defined objects from a third-party program:
Open the file you would like to save to the User-Defined objects in the third-party program.
Choose [Save As...]. This will open a Save As dialogue.
Locate the User-Defined folder in the Save As dialogue.
Default location: C:\Users\<user>\AppData\Roaming\Tango Delta\Library\User-Defined\Name the file as desired (do not change the file extension).
Click [Save]. The file will be available in Video Detailer immediately.

To add user-defined objects from the timeline:
Be sure the video you would like to save objects from is open in Video Detailer.
[ Optional ] If you want to save to multiple objects at one time to the User-Defined library activate them. You can activate by holding down shift and click-and-drag or you can hold down the [CTRL] key and click individual items.
Right-click directly on the item. This will open the timeline object options pop-up. See Figure 2.
Click the Save to Library button [ ]. This will open the User-Defined folder in an Explorer window.
Enter a name for the object. This name will appear in the User-Defined menu when you scroll over the object.
Click [Save]. The object will save and be immediately available in Video Detailer.