Import Images and Video
Image and video objects can be added from existing video and images created outside of Video Detailer, or videos you have previously exported as appropriate movie files (see Table 1 for currently acceptable file types). This is done by using the import feature.
The Import Process for Video or Image Objects
Be sure the object you have the object you want to import in a place that can be accessed by the computer.
Place the timeline indicator in the position where you want to place the imported object.
In Video Detailer, click the Main Menu button [ ] to open the main menu.
Select [Import] from the main menu by clicking on it. This will open the Import screen (it will initially be positioned in the default Delta Tango folder defined in Program Settings).
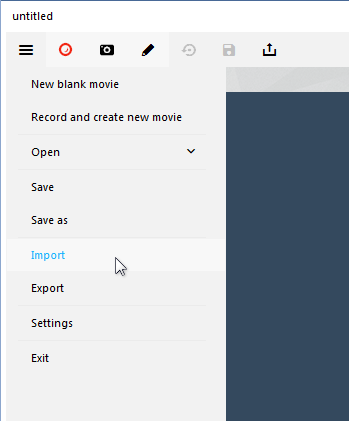
Figure 1: The Import item on the Main Menu. Navigate to the location of the object you want to import.
Click on the object to highlight it. The Open button will become available at the bottom right of the screen.
Click the [Open] button. The object will be inserted into the timeline at the position of the timeline indicator in step 2.
Table 1: Image and Video file types acceptable for import.
| Image file types | Video file types |
|---|---|
| .bmp | .mp4 |
| .png | .webm |
| .jpg | zzz |
| .gif | .wmv |
| .avi | |
| .mkv | |
| .mpeg | |
| .flv | |
| .mov |